Amazon Seller Registration in India: Step-by-Step (2026 Guide)
 GrowthLife
21 Oct 2026
11 min read
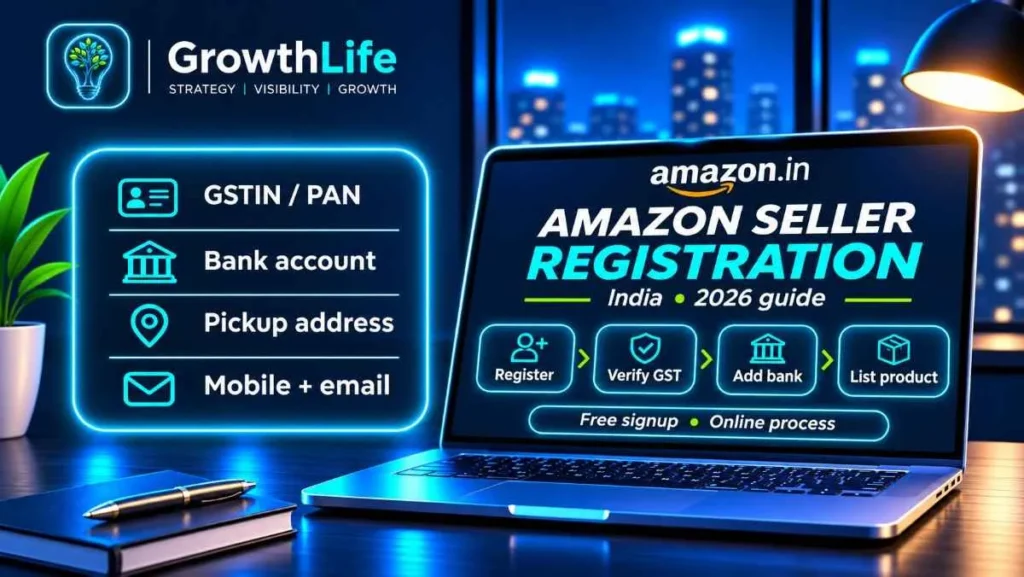
Amazon seller registration in India is free and is done online at sell.amazon.in. You need a mobile number, an email ID, a GSTIN (or PAN if you sell only GST-exempt goods), a bank account in the business name and a pickup address in the same state as your GST registration. Fill the form, verify GST, add your store name, address, shipping method and bank details, list at least one product and launch your store.
Quick summary
- Cost to register: ₹0. Amazon charges fees only when an order comes in.
- Must-have: GSTIN for taxable goods, PAN, bank account, mobile number, email.
- Without GST: possible for GST-exempt products (PAN route), and possibly for small single-state sellers via a GST enrolment ID. See selling on Amazon without GST for both routes.
- Time: around 15 minutes to fill the form; GST verification can take up to 72 hours.
- To go live: you must add at least one listing before you can launch the store.
- Payouts: Amazon says you become eligible for payment 7 days after an order is delivered.
Who can register as an Amazon seller?
Any Indian business can sell on Amazon.in: a sole proprietor working from home, a partnership firm, an LLP or a private limited company. You don’t need a shop, a warehouse or a registered company to start. What you do need is a tax identity that matches the products you want to sell.
GST: the rule that decides most cases
Amazon’s own registration guide is clear: GST registration is mandatory to sell taxable products on online marketplaces. Most products (clothing, electronics, kitchenware, cosmetics, toys, home goods) are taxable, so most new sellers need a GSTIN before they start.
There are two exceptions you should know about:
- GST-exempt products only. If everything you sell is GST-exempt (books are Amazon’s usual example), the signup form has an option that says you only sell tax-exempted products. You then provide PAN details instead of a GSTIN. The moment you add a taxable product, you need to register for GST and update Amazon.
- Small sellers using a GST enrolment ID. Since 1 October 2023, GST Notification 34/2023-Central Tax lets suppliers whose turnover is below the GST registration threshold sell through e-commerce marketplaces without a GSTIN, as long as they sell only within one state and get an enrolment number from the GST portal using their PAN. Marketplaces have to support this on their side. Meesho openly advertises selling without a regular GSTIN; for Amazon, check during signup whether the enrolment-ID option is shown for your category, because Amazon’s public registration guide still lists only the GSTIN and tax-exempt routes.
If you plan to ship across India from day one, the enrolment ID route won’t work for you. It is intra-state only. Get a regular GSTIN.
Documents checklist for Amazon seller registration
Keep these ready as clear scans or photos (PDF, JPG or DOC, under 10 MB each) before you open the signup page. It saves you from losing a half-filled form.
| Document / detail | Who needs it | Notes |
|---|---|---|
| Mobile number and email ID | Everyone | Use numbers and inboxes you will check daily; OTPs and verification emails go here. |
| GSTIN (15 digits) | Sellers of taxable goods | The legal name on GST should match your PAN and bank account. |
| GST certificate (REG-06 with Annexure A and B) | Only if automatic GST verification fails | Download from the GST portal; upload the full certificate, not just page one. |
| PAN | Everyone; the main ID for exempt-only sellers | Business PAN for companies/LLPs/firms; personal PAN for proprietors. |
| GST enrolment ID | Small intra-state sellers without GSTIN (if offered) | Generated on gst.gov.in with PAN, address and the state you will sell in. |
| Bank account details | Everyone | Account number, IFSC, account holder name. Keep a cancelled cheque or statement handy. |
| Identity proof | Usually asked during verification | Aadhaar or another government ID of the proprietor/authorised signatory. |
| Pickup address | Everyone | Must be in the same state as your GST registration. |
| Udyam registration | Optional | Not required by Amazon, but useful for MSME benefits and loans. |
Still choosing a store or brand name? Try our free business name generator before you start, because the store name has to be unique on Amazon.
Amazon seller registration: step-by-step
- Open the seller signup page. Go to sell.amazon.in and click “Start Selling”. You can sign in with an existing Amazon.in customer account and verify your phone with an OTP, or create a new account with your name, mobile, email and password. Many sellers prefer a fresh email used only for the business, so orders and alerts don’t mix with personal shopping.
- Enter your GST number. Type your 15-digit GSTIN. If you sell only exempt goods, pick the tax-exempt option and give PAN details instead.
- Verify GST. Click “Continue to Verify”. If Amazon can’t verify it automatically, upload your GST certificate (REG-06 with Annexures A and B). Amazon says verification can take up to 72 hours and you’ll get an email with the result. You can carry on with the next steps meanwhile.
- Choose your store name. Pick a suggested name or type your own. If someone else already uses it, you’ll see an error. Choose a name that matches your brand and is easy to search.
- Add your pickup address. Select your GST-registered address or add a new one in the same state. This is where couriers will collect your orders if you use Easy Ship.
- Pick a shipping method. Easy Ship (you pack, Amazon picks up and delivers) or Self Ship (you use your own courier). You can add Fulfilled by Amazon (FBA) later, once you have steady sales. Not sure which suits you? Our guide on how to sell on Amazon India compares the three.
- Add your bank account. Enter the active account used for your business. Sales proceeds are deposited here.
- Set a default tax code. Choose a default GST rate or Product Tax Code (PTC). Amazon applies it to listings where you haven’t picked a tax code. Set it to your most common rate, then set the exact code on each listing.
- Add at least one product. Amazon requires one listing before it lets you launch the store. Either match an existing product page (if you sell a brand already on Amazon) or create a new listing with title, images, price, stock and HSN-appropriate tax code.
- Launch. Click “Start selling”. Your store is now live, subject to any pending verification.
How long does approval take?
| Stage | Typical time |
|---|---|
| Filling the signup form | About 15 minutes with documents ready |
| GST verification | Up to 72 hours (per Amazon) |
| Identity / address checks | Varies; usually a few days if documents are clear |
| First listing live | Same day to a few days, depending on category approval |
| First payout | Eligible 7 days after the order is delivered |
Some categories (for example certain health, beauty, food and jewellery items) need extra approval or licences such as FSSAI. Check the category page on sell.amazon.in before you buy stock.
What does it cost after you register?
Registration and listing are free. You pay when you sell. The bill per order is roughly:
- Referral fee: a percentage of the selling price, depending on category. From 16 March 2026, Amazon charges zero referral fee on products priced under ₹1,000 across 1,800+ categories.
- Closing fee: a fixed amount based on price band and fulfilment channel.
- Shipping / weight handling fee: for Easy Ship and FBA, based on weight, size and distance.
- FBA fees (only if you use FBA): pick and pack, storage, removals.
- Taxes: GST on Amazon’s fees, plus TCS and TDS deducted from your payouts.
The full breakdown, with worked examples, is in our Amazon seller fees guide. To see your actual payout on a product, plug the numbers into our free Amazon fee calculator and then check your margin with the profit margin calculator. Amazon updates its rate card from time to time, so confirm the current figures inside Seller Central before you price.
Common rejection reasons and how to fix them
| Problem | Why it happens | Fix |
|---|---|---|
| GST verification failed | GSTIN typed wrong, GST registration still pending, or GST cancelled/suspended | Check status on gst.gov.in; upload full REG-06 with both annexures. |
| Name mismatch | Legal name on GST, PAN and bank account don’t match | Use a bank account in the exact legal/trade name; update GST if needed. |
| Address rejected | Pickup address in a different state from GST | Add the address as an additional place of business on GST, or use the GST address. |
| Blurry or cropped documents | Phone photos with glare, cut-off edges | Scan flat, all four corners visible, under 10 MB. |
| Store name not accepted | Already used by another seller, or uses a brand you don’t own | Pick a distinct name; never use another brand’s trademark. |
| Category blocked | Gated category needs approval or licences | Apply for category approval with invoices and licences; start with an ungated category. |
| Account flagged as duplicate | Same GSTIN, bank or details used on another account | One GSTIN per seller account; don’t reuse details from an old account. |
Mistakes new sellers make right after registering
- Listing with phone photos. Amazon recommends images at least 1,000 pixels on height or width so zoom works. Use a plain white background for the main image.
- Wrong tax code. A wrong GST rate or HSN code shows up in your returns later and is painful to fix. Set it correctly per listing.
- Pricing without doing the fee maths. Sellers price at MRP minus a “safe” discount and only later see what fees, shipping and returns take out. Run every SKU through the calculator first.
- Ignoring the account health dashboard. Late dispatch and cancellations count against you from your very first order.
- Uploading too few SKUs. One listing gets the store live, but a handful of related products gives customers and Amazon’s search more to work with.
Tips to get your first sales
Write titles and bullets for search
Customers search in plain words: “steel water bottle 1 litre”, “wooden spatula set”. Put the main keyword early in the title, then brand, material, size, quantity and key use. Use the five bullet points for real buyer questions: size, material, what’s in the box, care, warranty.
Get the images right
Main image on white, then lifestyle shots, a size/dimension image, a close-up of material and a “what’s in the box” photo. Images do most of the selling on mobile.
Price for the Buy Box, not for MRP
If other sellers sell the same product, the lowest landed price with good account health usually wins the Buy Box. If you sell your own brand, compare against similar products on page one and price within that range.
Collect early reviews the right way
Use Amazon’s own “Request a Review” button in Seller Central after delivery. Never offer discounts, refunds or gifts for reviews; Amazon removes such reviews and can suspend accounts.
Run small Sponsored Products campaigns
Start with an automatic campaign on a modest daily budget for two weeks, then move the search terms that convert into a manual campaign. Pause terms that spend without orders.
Amazon vs Flipkart vs Meesho registration at a glance
| Amazon.in | Flipkart | Meesho | |
|---|---|---|---|
| Registration fee | Free | Free | Free |
| GST needed? | Yes for taxable goods; PAN for exempt-only | Yes for taxable goods (check enrolment-ID options) | Advertises selling within your state without a regular GSTIN |
| Commission headline (2026) | Zero referral fee under ₹1,000 in 1,800+ categories | Zero commission under ₹1,000 (announced Nov 2025) | 0% commission |
| Best for | Branded products, higher order values, FBA/Prime | Fashion, electronics, home, large festive sales | Low-price, unbranded, tier-2/3 audiences |
| Guide | You’re reading it | Flipkart seller registration | Meesho seller registration |
Many small brands register on all three and use the same stock. Just keep inventory synced so you don’t oversell. If you’re weighing Flipkart’s fees, our Flipkart commission calculator helps you compare like for like.
Need help with listings?
Registration is the easy part. What decides whether you get orders is how your listing reads and looks on page one. GrowthLife runs its own marketplace brands, and our Page-1 Amazon Listing service applies the same keyword research, titles, bullets and image planning to your products. If you’d rather do it yourself, all our free seller tools are open to use.
FAQs
Is Amazon seller registration free in India?
Yes. Creating a seller account and listing products on Amazon.in is free. Amazon charges selling fees only when you get an order: a referral fee (zero on many products under ₹1,000 since 16 March 2026), a closing fee and a shipping or fulfilment fee, depending on how you ship.
Can I register on Amazon without a GST number?
Only in limited cases. If you sell only GST-exempt goods such as books, Amazon lets you register with PAN details by choosing the tax-exempt option. GST law also lets small sellers below the registration threshold sell within one state using a GST enrolment ID instead of a GSTIN, but check whether Amazon’s signup currently offers that route for your category before you rely on it.
How long does Amazon seller registration take?
The signup form itself takes roughly 15 minutes if your documents are ready. Amazon says GST verification can take up to 72 hours, and you can continue other steps while it is under review. Identity or address checks can add a few more days if a document is unclear.
Can I use my personal bank account for an Amazon seller account?
Amazon asks for an active bank account used for the business, and your payouts go there. A sole proprietor can use a savings or current account in their own name, but the name should match your GST or PAN details, otherwise verification can stall.
Can I open more than one Amazon seller account?
Each seller account on Amazon.in needs a different GST number, and one account carries one store name. If you run separate brands under one GSTIN, list them in the same account using brand registry instead of opening new accounts.